Use the NETFILE button to start the Netfile wizard:
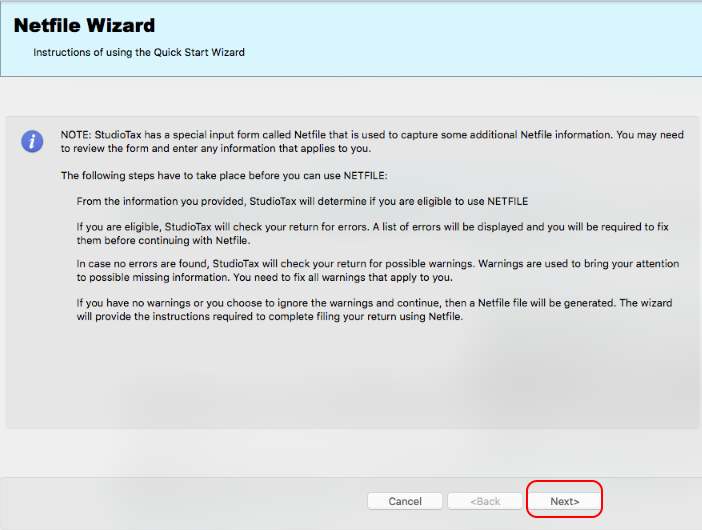
The Netfile wizard is used to walk through the filing process. The first page contains a set of instructions that explains certain aspects of filing the return through Netfile. You need to review these instructions before pressing Next to continue.
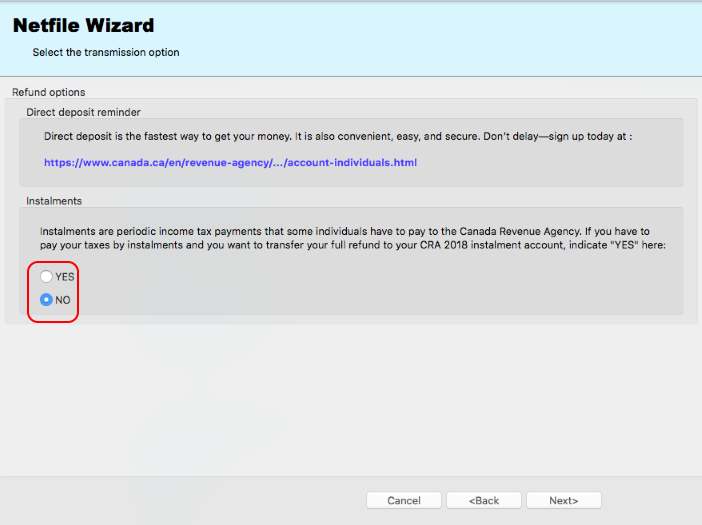
If you return has a refund, then the above page will be displayed and include refund related options that you may want to consider. You may need to answer any question before the Next button get enabled.
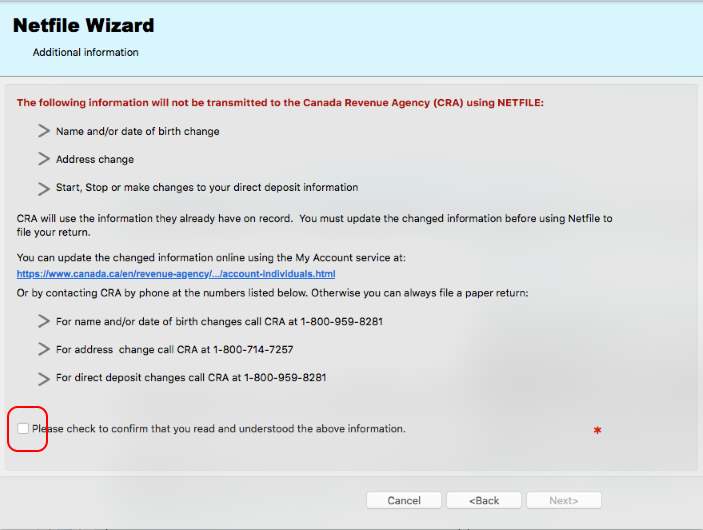
The next page contains an important NETFILE restriction that you should be aware of. Some personal information are not included in the Netfile file and you need to contact CRA before using Netfile if there are any changes since your last return. Make sure to pay attention to these restrictions otherwise your refund may be sent to your old address. Also, you need to acknowledge that you have read and understood the statement by checking the box highlighted by the red circle.
If those restrictions do not apply to your situation, then press "Next>" to continue:
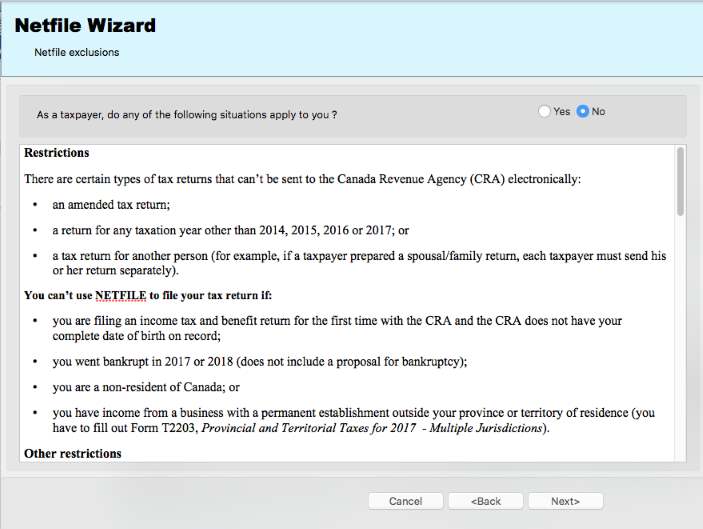
This page lists a set of uncommon tax situations that prevent users from using Netfile to file their returns. Read the list just in case it applies to your situation.
Press "Next>" if none of the above situations applies to you. The next pages are used to display the result of the validation performed by the software. The validation produces 3 different types of results:
- Errors that need to be corrected before you can result.
- If no errors are found, then one or more prompts as shown by the next picture are listed. You need to answer each one of the tromps before you can resume. If your answer is No, then you have to press Cancel and make the necessary changes before trying to Netfile the return.
- Lastly you may get a list of warnings messages that do not prevent you from filing the return. These messages include reminders, tax saving tips and other suggestion to perform some optional changes. Many of these warnings are CRA requirements and may not affect your tax calculation. The software is required to encode some optional information needed by CRA. At this point you can decide to ignore the warning and continue or you can exit from the wizard and provide the extra details. If you decide to exit the wizard, then you can press either "Cancel" or "Finish".

Press "Next>" to get to the next page:
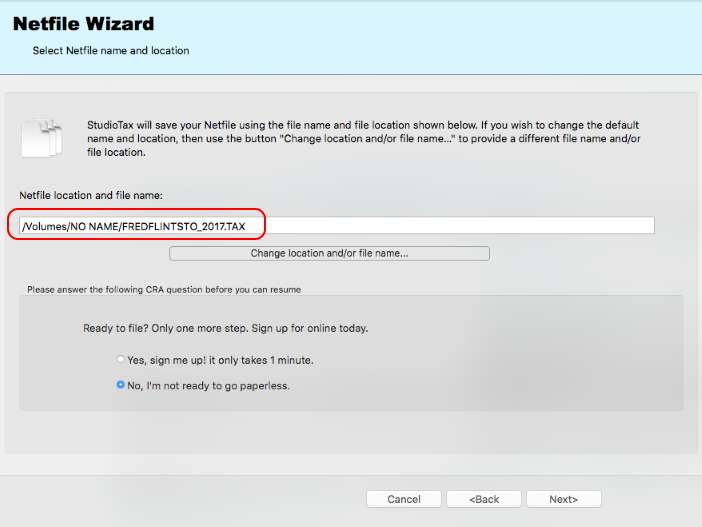
This page shows the name and location of the .TAX NETFILE file. The default location is set to your computer Home folder. Optionally you can change the name and/or location of the file by using the button in the middle of the page. For the purpose of this tutorial the location is changed to an external drive and the name is still using the default name made from the first name and last name. You may need to answer a question about registering for CRA online email. Answer the question before you can resume.
Press "Next>" to continue.
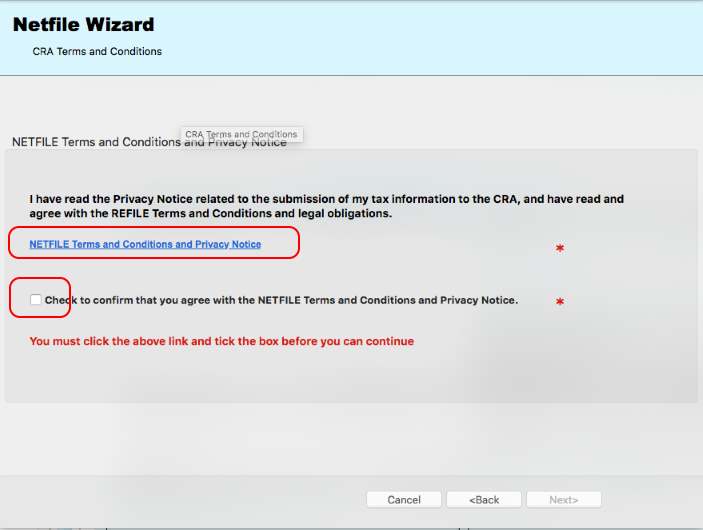
The next page contains the CRA term and conditions that you need to acknowledge by clicking on the link and check the box highlighted above. Then the Next button will be enable. Press on Next to go to the transmission page.
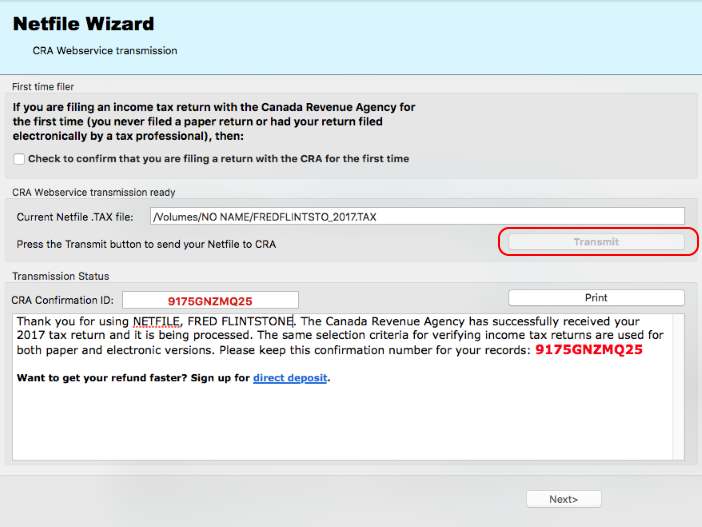
Press on the Transmit button to send your return to CRA. If the transmission is successful, then you will get a confirmation message with a message similar to the message shown above.
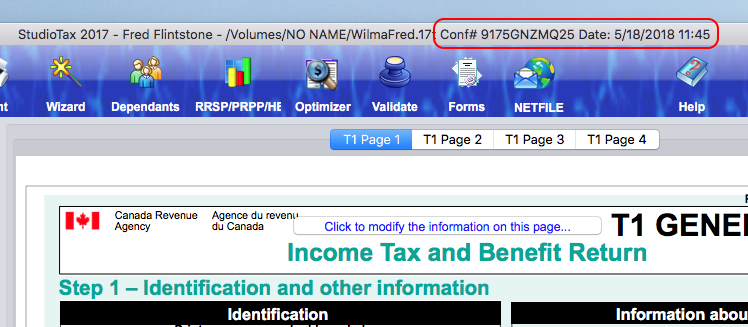
The confirmation number is saved with the return. You can view it on the title of the main software's window as show below: